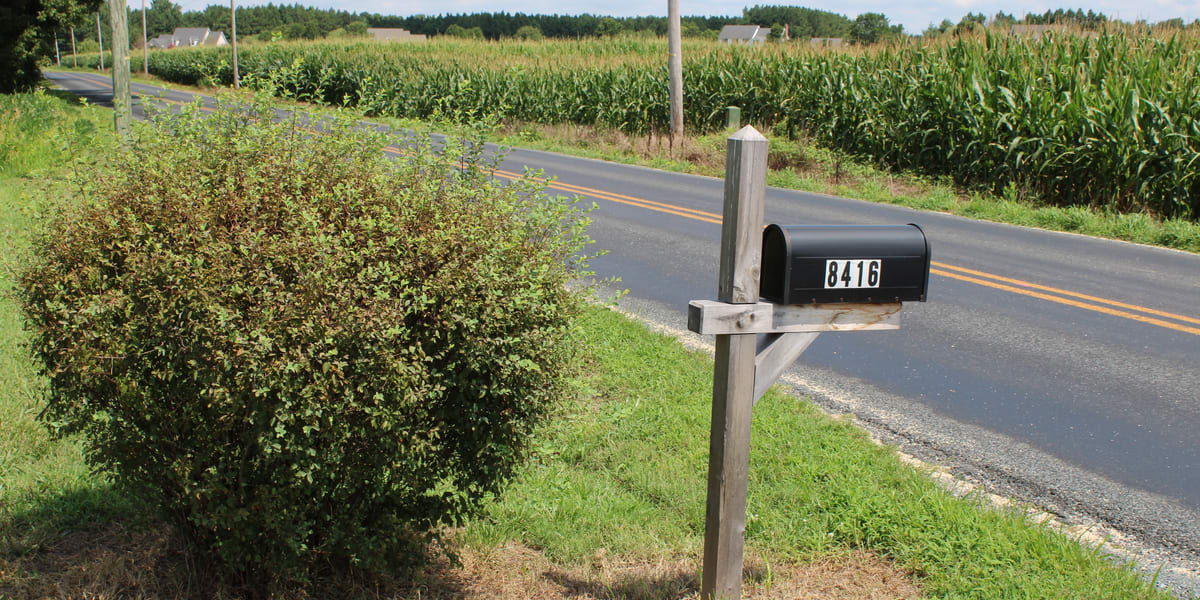
The first thing visitors will see when they approach your property is the landscaping at the end of your driveway. It is also the last thing that people see when leaving your home. A well-landscaped driveway sets the tone for the entire yard and draws the eye toward important focal points. Using the right landscape design at the end of your driveway is a means of adding beauty to your entire yard.
Sketch your driveway, along with existing landscaping features in your yard. Evaluate which shapes would look best at the end of your driveway based on the existing features. For instance, if your yard has formal, geometric designs, then you should add square beds or stone pillars at the end of the driveway. However, if your layout is primarily curved, then you should continue these soft lines toward the end of your driveway.
Clear the ground at the end of your driveway by removing grass, rocks or other ground cover to make way for the new features.
Create beds on each side of your driveway by adding soil if necessary and straw or mulch.
Arrange plants in such as way so that you can see other plants farther on in the yard. This means that you'll need to plant fairly small plants at the end of your driveway. A ground level of flowers backed by slightly taller shrubs draws the eye inward toward the home.
Add a border of stone, wood or plants. Use a border that reflects the same types of borders used in the rest of the yard.