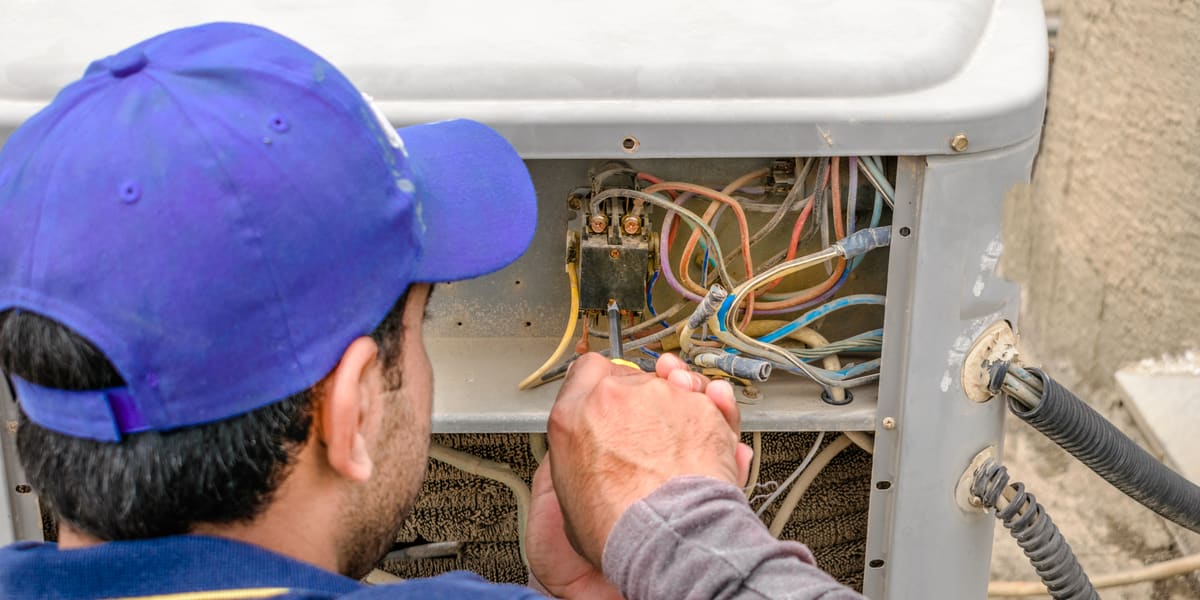
The air compressor switch is a pressure switch that handles pressure regulation and functions as the on/off power switch as directed by the operator. The switch is one of the air compressor parts that is likely to wear out before the compressor is in need of replacement. Pressure switch replacement involves pressure switch wiring to the motor and to the power supply. Two connector types are included for all of the labeled terminals for ease of wiring.
Shut off the compressor and unplug it. Use the pressure bleed valve to release the pressurized air from the tank. Take the cover off the current air compressor switch and remove the six connected wires by unplugging the quick connect connectors or by loosening the terminal screws. Separate the wires coming in from the power cord and the wires running to the internal motor. Pull both cables away from the old pressure switch.
Take the cover off the new pressure switch. Cut off the quick connect connectors on the new switch if the former air pressure switch wiring was connected to the screw terminals. Leave the quick connects on if the wiring has this type of connector.
Attach the green ground wire from the internal motor to the frame of the unit with either of the two holes provided on the frame. Connect the black wire from the motor to the "T1" terminal with the quick connect or by winding it around the screw terminal clockwise and tightening the screw. Connect the white motor wire to the "T2" terminal on the switch.
Connect the green ground wire from the incoming power cable to the other hole in the frame. Connect the black hot wire from the cord to the "L1" terminal on the switch. Connect the white power cable wire to the "L2" terminal.
Tighten all screw terminals firmly if used, otherwise check all quick connects for secure attachment. Slip the wires in under the cover plate and secure it with the holding screw.